Introduction
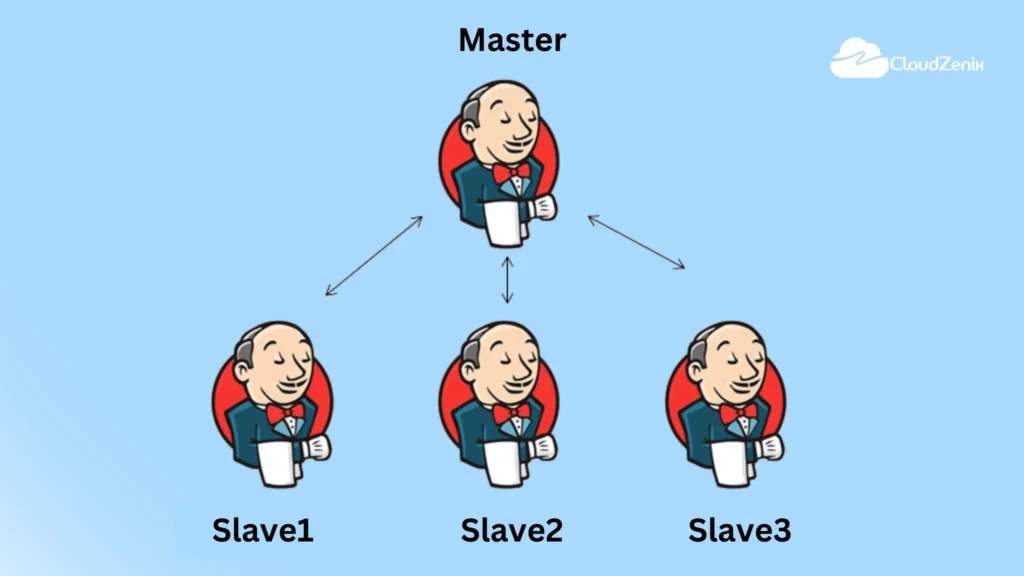
Jenkins, an open-source automation server, is a vital tool for continuous integration and continuous delivery (CI/CD) pipelines. By setting up a Jenkins master-slave architecture, you can distribute workloads, improve efficiency, and ensure seamless automation even for complex projects. This guide will walk you through the process of setting up a Jenkins master and slave configuration.
Step 1: Install Jenkins Master
- Install Java: Jenkins requires Java to run. Make sure you have Java JDK installed on your machine.
- Download Jenkins: Visit the official Jenkins website (https://www.jenkins.io/download/ ) and download the appropriate Jenkins package for your operating system.
- Install Jenkins: Follow the installation instructions provided for your operating system. This usually involves running the installer and following the prompts.
- Access Jenkins: Once installed, open your web browser and navigate to http://localhost:8080 (or the specified port if you customized it during installation).
- You will be prompted to unlock Jenkins using an initial admin password. This password can be found on your server by following the instructions provided during installation.
- Install Plugins: During the initial setup, Jenkins will prompt you to install recommended plugins.
- Select the “Install suggested plugins” option to proceed. These plugins enhance Jenkins’ functionality.
- Create Admin User: After the plugins are installed, create an admin user account with a username and password.
- This account will be used to manage Jenkins.
Reference: <<Jenkins Installation Link>>
Step 2: Set Up Jenkins Slave
- Below are the steps to set up a Jenkins master-slave architecture:
Create an EC2 instance for Jenkins Slave and install Java 11 and Git:
- Launch an EC2 instance on AWS, ensuring it is in the same VPC (Virtual Private Cloud) as the Jenkins Master.
- Follow the usual steps to set up the instance, including selecting the security group, key pair, and storage.
- Once the instance is running, note down its public IP address.
- Log in to the Jenkins Slave EC2 instance and install Java 11 and Git.
Create a directory in the user’s home directory on the Jenkins slave:
- Create a directory dedicated to Jenkins. For example, you can use the following command:
mkdir /home/ec2-user/jenkinsStep 3: Establish an SSH connection between Jenkins Master and Slave.
- Open a terminal or command prompt on the Jenkins Master machine.
- Use the SSH key pair you already have or generate a new SSH key pair using the
ssh-keygencommand. - Once you have the key pair, copy the public key (usually located in
~/.ssh/id_rsa.pub) to the clipboard. - Login to Jenkins Slave and Paste the public key of the Jenkins master into
~/.ssh/authorized_keysfile. - Now, Verify whether your able to ssh into slave from master.
ssh ec2-user@<public_ip_of_slave_server>Step 4: Add the credentials to connect to the slave machine
- In the Jenkins dashboard, click on “Manage Jenkins” in the left-hand sidebar.
- Select “Credentials.”
- Click on the “Global” domain.
- Click on “Add Credentials”.
- Fill in the following details:
- Kind: SSH Username with private key
- Scope: Global
- Username: ec2-user
- Private Key: Enter the private key content directly (you can copy the content from ~/.ssh/id_rsa on the Jenkins Master machine).
- ID: Create a unique ID to identify these credentials (e.g., “Jenkins-slave-ssh-credentials”)
- Description: Describe these credentials if needed.
- Click on “OK” to save the credentials.
Step 5: Add an Agent
- In the Jenkins dashboard, click on “Manage Jenkins” in the left-hand sidebar.
- Select “Nodes and Clouds.”
- Click on “New Node” to create a new slave node.
- Fill in the following details:
- Node Name: Choose a name for the slave node.
- Select Permanent Agent and then click on Create.
- Usage: Select “Use this node as much as possible.”Remote root directory: Specify the path of the directory dedicated to Jenkins on the slave server (e.g.,
/home/ec2-user/jenkins). - Labels: Optionally, you can assign labels to the slave node for specific job assignments.Launch method: Select “Launch agent via SSH”.
- Host: Enter the public IP address of the Jenkins Slave machine.Credentials: Select the credentials you created in Step 4 from the dropdown.
- Host Key Verification Strategy: Choose “Non-Verifying Verification Strategy”.
- Availability: Select “Keep this agent online as much as possible.”
- Node Properties: Leave this section blank.
- Click on “Save” to create the Jenkins Slave node.
Now, Jenkins should be able to connect to the Slave using SSH and utilize it as an agent for running builds and jobs.
Conclusion:
Setting up a Jenkins master and slave architecture provides a scalable and efficient way to manage CI/CD pipelines. The master-slave setup allows you to distribute workloads, parallelize builds, and improve overall automation efficiency. By following the steps outlined in this guide, you’ll be well-equipped to establish a reliable Jenkins environment for your development and deployment needs.

